
12. Managing Assets
When creating a new task it can be defined whether the results of the scan should be stored in the assets (see Chapter 10.2.2).
12.1. Creating and Managing Hosts
12.1.1. Creating a Host
Hosts can be added to the asset management as follows:
Select Assets > Hosts in the menu bar.
Create a new host by clicking
 in the upper left corner of the page.
Enter the IP address of the host in the input box IP Address (see Fig. 12.1).
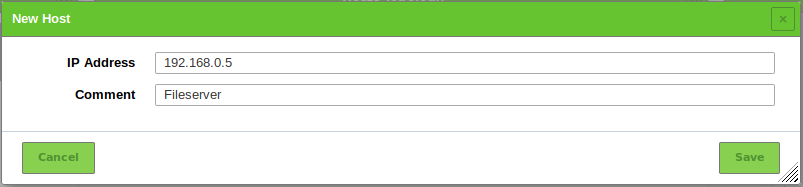
Fig. 12.1 Creating a new host
Click Save.
This feature is also available via GMP (see Chapter 15). The import of hosts from a configuration management database can be achieved using this option.
12.1.2. Managing Hosts
List Page
All existing hosts can be displayed by selecting Assets > Hosts in the menu bar (see Fig. 12.2).
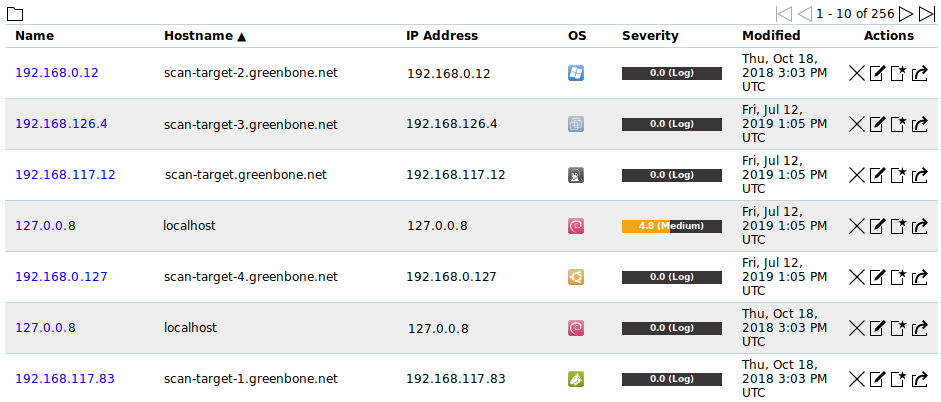
Fig. 12.2 Page Hosts displaying all scanned hosts
For all hosts the following actions are available:
 Delete the host.
 Edit the host.
- Create a new target from the host (see Chapter 12.1.3).
 Export the host as an XML file.
Note
By clicking , or below the list of hosts more than one host can be deleted, exported or used to create a new target at a time. The drop-down-list is used to select which hosts are deleted, exported or used to create a new target.
Details Page
Click on the name of a host to display the details of the host. Click  to open the details page of the host.
The following registers are available:
- Information
General information about the host.
Any identifying information collected for the host during scans, e.g., host names, IP and MAC addresses, operating systems, SSH keys and X.509 certificates, is displayed in the section All Identifiers (see Fig. 12.3).
Note
If identifiers have duplicates, only the latest identifiers are shown. In this case, the section is named Latest Identifiers and all identifiers can be displayed by clicking Show all Identifiers below the table.
For all host identifiers the following action is available:
- Delete the identifier.
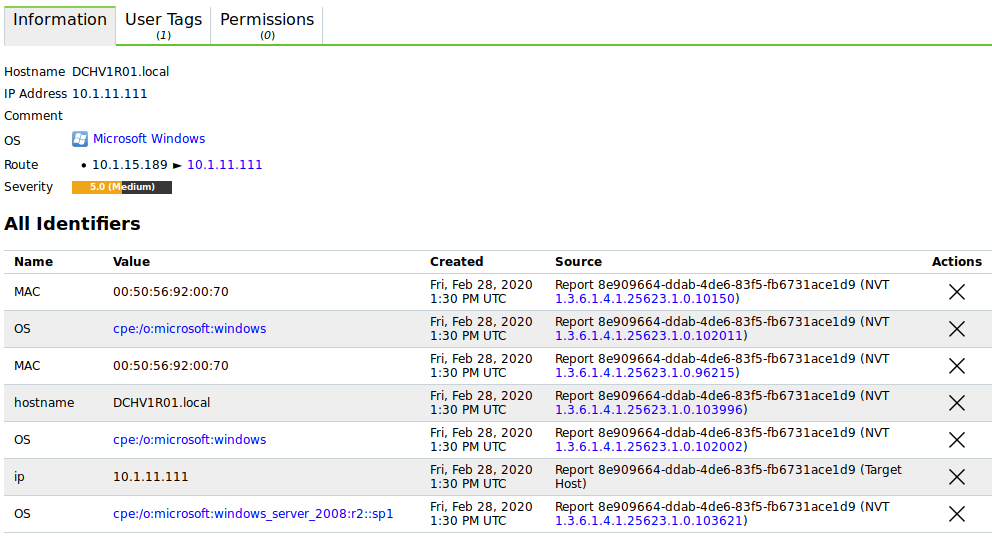
Fig. 12.3 All identifiers
- User Tags
- Assigned tags (see Chapter 8.5).
- Permissions
- Assigned permissions (see Chapter 9.4).
The following actions are available in the upper left corner:
 Open the corresponding chapter of the user manual.
 Show the list page of all hosts.
- Create a new host (see Chapter 12.1.1).
- Edit the host.
 Delete the host.
- Export the host as an XML file.
 Show the corresponding results.
12.1.3. Creating a Target from Hosts
A target with a set of hosts can be created as follows:
Filter the hosts so that only the hosts that should be used for the target (e.g. only Microsoft Windows hosts) are displayed (see Chapter 8.4).
Create a new target by clicking
below the list of hosts (see Fig. 12.4).→ The window for creating a target is opened. The input box Hosts is prefilled with the set of displayed hosts.
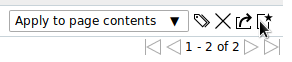
Fig. 12.4 Creating a target with the displayed hosts
Define the target and click Save.
Tip
For the information to enter in the input boxes see Chapter 10.2.1.
Note
If additional suitable hosts show up in further scans they will not be added to the target.
12.2. Managing Operating Systems
The operating systems view within the asset management provides a different view on the stored data. While the hosts view is centered on the individual hosts, this view concentrates on the used operating systems.
List Page
All operating systems can be displayed by selecting Assets > Operating Systems in the menu bar (see Fig. 12.5).
For all operating systems the following actions are available:
- Delete the operating system. Only operating systems which are currently not used can be deleted.
- Export the operating system as an XML file.
Note
By clicking or below the list of operating systems more than one operating system can be deleted or exported at a time. The drop-down-list is used to select which operating systems are deleted or exported.
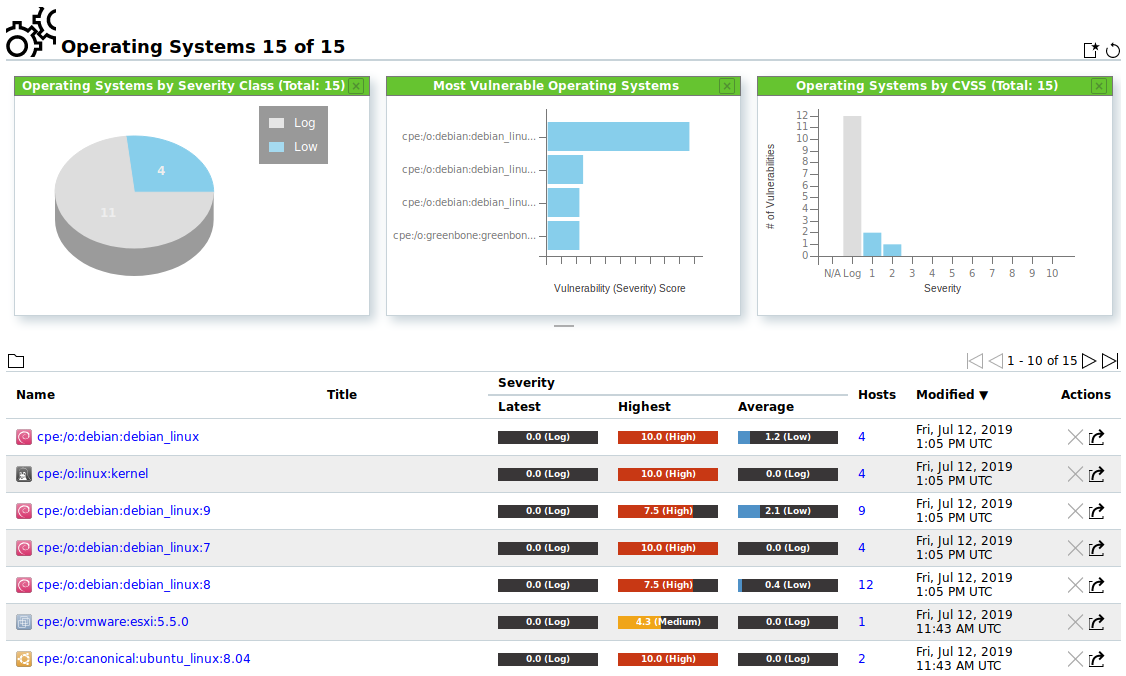
Fig. 12.5 Page Operating Systems displaying all scanned operating systems
Details Page
Click on the name of an operating system to open the details page of the operating system.
The following registers are available:
- Information
- General information about the operating system.
- User Tags
- Assigned tags (see Chapter 8.5).
- Permissions
- Assigned permissions (see Chapter 9.4).
The following actions are available in the upper left corner:
- Open the corresponding chapter of the user manual.
- Show the list page of all operating systems.
- Delete the operating system. Only operating systems which are currently not used can be deleted.
- Export the operating system as an XML file.
 Show the corresponding hosts.