3 Getting to Know and Accessing the Platform
3.1 Creating a User Account
For using the Greenbone Cloud Service, a user account must be created.
If self-service is not enabled (= managed-service), the vMSP must create the user accounts.
If self-service is enabled, users are able to create their own account as described in the following. Nevertheless, the vMSP can also create the user accounts.
The created user account is a main user account.
The main user can invite other users to their team (see Chapter 4.4).
Note
By default, all newly created accounts are free trial accounts that can be converted to paid accounts later (see Chapter 4.5).
A new user account can be created as follows:
Open the web browser.
Enter the URL of the Greenbone Cloud Service.
Click Register.
Enter the e-mail address and the password for the account in the input boxes.
If desired, activate the checkbox for receiving security news.
Click Next.
Enter the company details.
Click Next.
Activate the checkboxes regarding the agreement with the terms of use and the privacy policy.
Click Create free account.
Note
For selecting a subscription see Chapter 4.5.
3.2 Logging into the Platform
The Greenbone Cloud Service can be accessed as follows:
Open the web browser.
Enter the URL of the Greenbone Cloud Service.
Tip
The language of the platform can be selected in the upper right or upper left corner.
Log in using the e-mail address and password of the Greenbone Cloud Service account (see Chapter 3.1).
→ The page Scan Management is displayed.
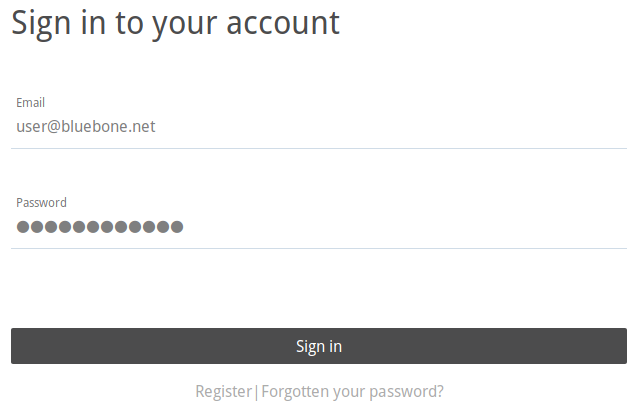
Fig. 3.1 Logging in to the platform
Note
If the password is forgotten, a link for resetting it can be requested by clicking Forgotten your password?
3.3 Structure of the Platform
3.3.1 List Pages
List pages show an overview of all existing objects of one kind (see Fig. 3.2). They are available for scans, scan tasks, targets, login credentials, schedules and gateways.
A list page can be opened by selecting the desired page in the menu panel, for example, selecting Targets in the category Scan Configuration in the menu panel opens the list page Targets.
The list of objects provides information such as name, status, type or possible actions for single objects. The information shown in the table depends on the object type.
Searching for the name of a specific object is possible using the search bar.
The list content can be sorted by a chosen column by clicking on the column title. The content can be sorted ascending or descending:
 in the column title shows that the objects are sorted ascending.
 in the column title shows that the objects are sorted descending.

Fig. 3.2 Structure of list pages
3.3.2 Detail Overlays
For some objects an overlay containing detailed information can be opened, for example, by clicking on the schedule name in the list of scan task (see Fig. 3.3), information about the used schedule is shown.
Note
If an overlay is available, the object’s name is underlined.

Fig. 3.3 Opening the overlay
3.4 Getting Support
The menu item Help offers the following support issues and information:
- Overview
Explanation of the basic terms of the Greenbone Cloud Service.
- User Manual
Comprehensive user manual including step-by-step instructions for all activities related to the platform.
- Legal Information
General terms of use and privacy policy of the Greenbone Cloud Service.